An Expert Guide from FIMIC
When setting up a new rotary tiller with your tractor, one of the most overlooked—but critical—steps is properly adjusting the PTO (Power Take-Off) shaft to the correct length. This guide will walk you through the process step-by-step, ensuring your tiller operates safely and at peak performance. Whether you’re a seasoned operator or new to tractor attachments, we’re here to give you the confidence and knowledge to do it right.

What Is a PTO Shaft & Why Does Proper Sizing Matter?
A PTO shaft is the vital component that transfers rotational power from your tractor’s engine to the implement—in this case, your rotary tiller. Most PTO shafts are designed to telescope to allow for different tractor-to-implement distances. However, a safe range of overlap and clearance must be maintained.
If the shaft is too long:
-
When raising the implement with the 3-point hitch, it may bottom out, creating dangerous pressure on the gearbox or PTO stub.
-
Excessive length can stress driveline components, leading to premature wear, shaft warping, or total failure.
If the shaft is too short:
-
It may disconnect during operation, especially over uneven terrain or when lifting the implement.
-
This can damage the shaft of the implement and possibly injure the operator.
👉 FIMIC Field Data: 73% of implement-related accidents stem from improperly adjusted PTO shafts.

Tools and Safety Equipment You’ll Need
Before you begin, gather the following tools:
-
Measuring tape – for precise shaft measurements
-
Marker or chalk – to mark cut lines on the shaft
-
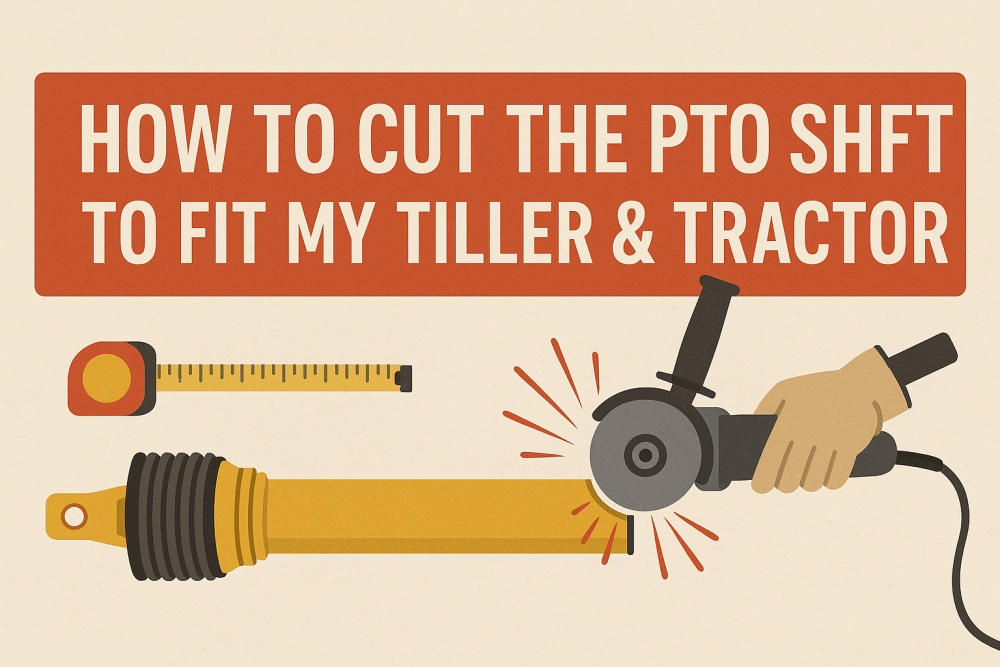
Angle grinder or fine-tooth hacksaw – for smooth cutting
-
Flat file or deburring tool – to smooth sharp edges post-cut
-
Grease or lubricant – to ensure smooth sliding post-assembly
-
Safety gloves and eye protection – always protect yourself
💡 Pro Tip from the Field: Never rush this process. Precision here prevents problems later.
Step 1: Mount the Implement and Align the Tractor
-
Fully attach the tiller to the tractor's 3-point hitch and secure all pins.
-
Set the tiller on level ground and keep the tractor engine off with the PTO disengaged.
-
Raise and lower the 3-point hitch to check the full motion range and observe the distance between the PTO stub and the tiller gearbox.
This initial setup gives you a working measurement and ensures your shaft won’t jam or separate under dynamic conditions in the field.
Step 2: Test Fit the PTO Shaft
With the tiller and tractor in working position:
-
Attempt to connect both ends of the PTO shaft (one to the tractor, the other to the tiller).
-
If you can’t make the connection, or the shaft binds when raising the tiller, it’s too long and needs trimming.
➡️ A correctly sized shaft should slide easily, with at least 1/3 overlap between inner and outer tubes at full extension, and never entirely collapse during operation.
Step 3: Measure the Required Shaft Length
This is the most critical step.
-
Collapse the PTO shaft and measure from the center of the tractor’s PTO output shaft to the center of the tiller’s input shaft.
-
Take the collapsed length of the PTO shaft as it is now.
-
The difference tells you how much needs to be cut.
🔍 Expert Formula: Let’s say your current PTO shaft measures 42" collapsed, but the working distance is 36" — that means you need to remove 6", or 3 inches from both the inner and outer tubes.
⚠️ Never cut from just one side — the balance and structural integrity depend on even reduction.
Step 4: Cutting the Shaft
-
Mark the exact length to cut on both the inner and outer shaft tubes using a permanent marker or chalk.
-
Use a fine-toothed hacksaw or angle grinder for clean cuts.
-
After cutting, use a flat file or deburring tool to smooth all edges—this prevents friction and metal shavings inside the shaft.
🎯 At Fimic Implement, we recommend double-checking your marks and cuts. An error of even half an inch can impact safety and performance.
Step 5: Adjusting the Plastic Safety Shields
The PTO shaft’s safety shields (guard tubes) must be trimmed to match the shortened metal shaft.
-
Use the same cut measurements from the metal tubes.
-
Cut the shields using a handsaw or rotary tool—avoid jagged cuts.
-
Reinstall the safety guards and ensure they rotate independently from the shaft for proper function.
🛡️ Never operate without the safety shields. They’re not optional—they’re life-saving!
Step 6: Reassemble, Grease, and Final Test
-
Clean the shaft ends thoroughly, removing any filings.
-
Apply high-quality grease along the sliding surfaces and the yokes.
-
Connect the shaft to the tractor and implement.
-
Cycle the 3-point hitch through its full range and watch for any binding, contact, or excessive compression.
✅ Everything should move freely, with no signs of strain, even when the tiller is lifted to transport height.

Final Words from the Experts at FIMIC
Properly sizing and cutting your PTO shaft is more than a mechanical task—it’s a fundamental safety step. As agricultural professionals, we’ve spent years in the field and the workshop and seen firsthand the risks of ignoring this process.
At FIMIC, we supply high-quality rotary tillers, PTO shafts, tractor implements, and expert guidance to keep your farm running safely and efficiently. If you need assistance selecting a PTO shaft, verifying measurements, or choosing a tiller setup that matches your specific tractor model, our team is here to help.
Need help cutting your PTO shaft or choosing the right tiller?
Contact us directly at https://fimicimplement.com/. We’re proud to serve farmers, contractors, and landowners across North America with unmatched product support and real-world expertise.

